


This $0 Photoshoot Had No Business Looking This Good
with your phone

Hello Shutterbugs,
Before we begin, I want to thank everyone who replied to Monday’s newsletter about my unfortunate knife-versus-finger incident. One reader, Hi Kelly, called it a “universal chef’s malady,” thank you for giving my kitchen mishap such a dignified title. Honestly, the emails made me feel less like an idiot with a bandaid and more like a proud member of an elite, slightly clumsy club. I cook daily. I love it. But sometimes, dinner bites back.
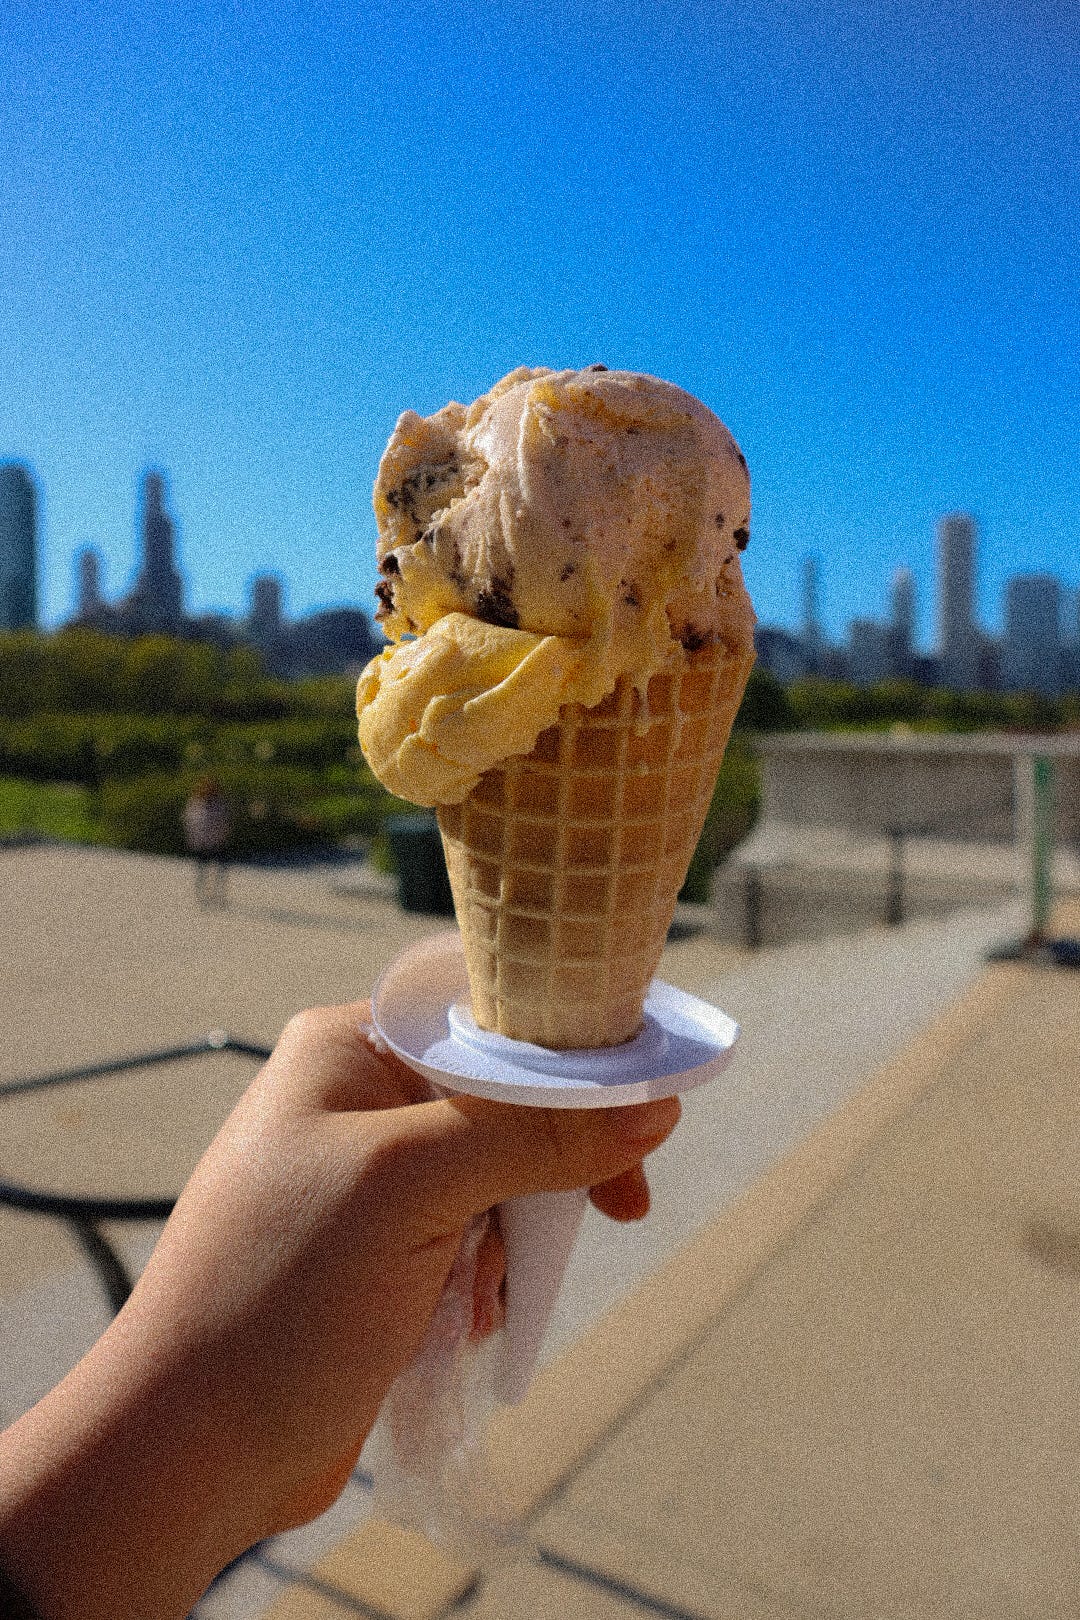
Anyway, after a weekend packed with drama, I grabbed my husband and we went for a walk in the park. No plans, no pressure. I asked him to take a few photos of me, we took some selfies, and eventually ended up eating ice cream that melted faster than either of us could keep up with.
While we talked, I started noticing the small things I had done that day to make sure the photos turned out well. It looked unplanned, but it wasn’t. Not completely. That kind of preparation lives in my bones now after years of creating content.
I’ve done the big productions. For more than 15 years. Hair, makeup, stylists, lighting crews, models. It’s how magazine images get made. But there’s a quieter kind of magic too, the kind that happens with a phone and a bit of intention.
So I want to walk you through how I thought about it. Nothing fancy. Just what I did, how I saw the light, and what I shifted to make it work. You can do the same with what you already have. You just need to look at your everyday a little differently.
Think of Colors
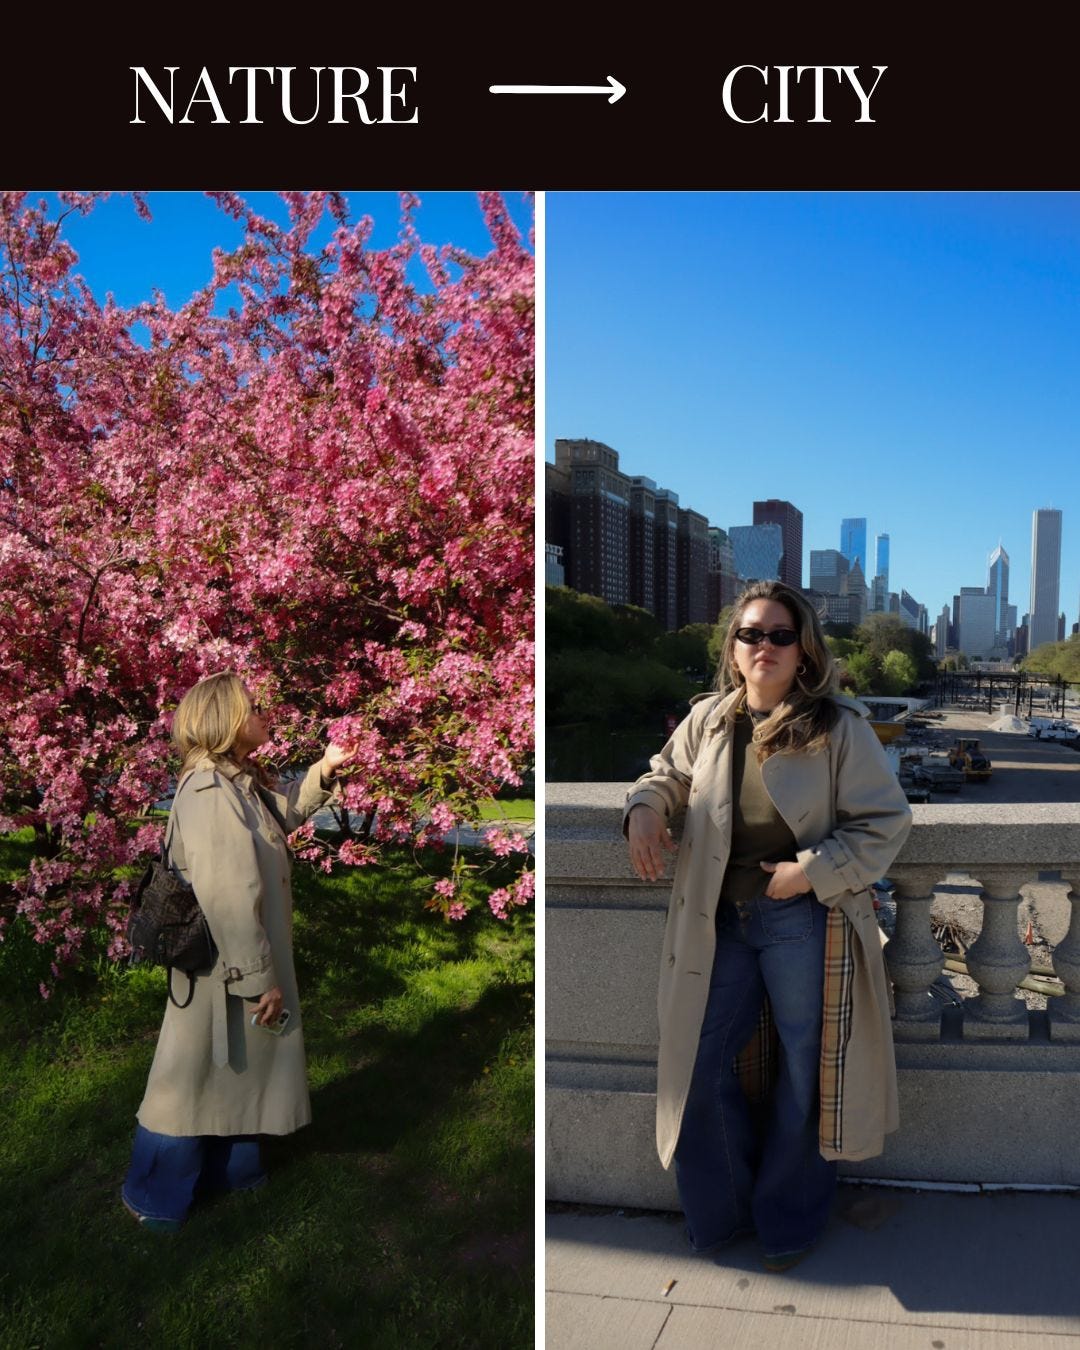
My outfit was 90% utility, 10% creativity. I was going for a walk, so I needed comfortable shoes. It’s spring, which in Chicago means chilly with a chance of confusion, so I threw on a trench coat and jeans, something I wouldn’t mind sitting on the ground in, if it came to that.
But the colors were intentional. I chose a muted trench in case I stumbled on spring flowers (which I did), so they could have the spotlight. I also knew the area: lots of green in the park, and a mix of greys, creams, and beiges from the city architecture. So I stayed in that palette. Subtle, not boring. Soft, not washed out.
Knowing your location (even if you just Google it) can help you figure out how your outfit will play in the frame. Sometimes you want to pop. Sometimes you want to echo your surroundings. Either way, thinking it through adds a sense of purpose. Even if someone doesn’t know exactly why the photo works, they’ll feel that it does.
I share actionable steps to improve your photos every week. If you haven’t already, make sure you’re subscribed.
Be Aware of Your Surroundings and Your Frame
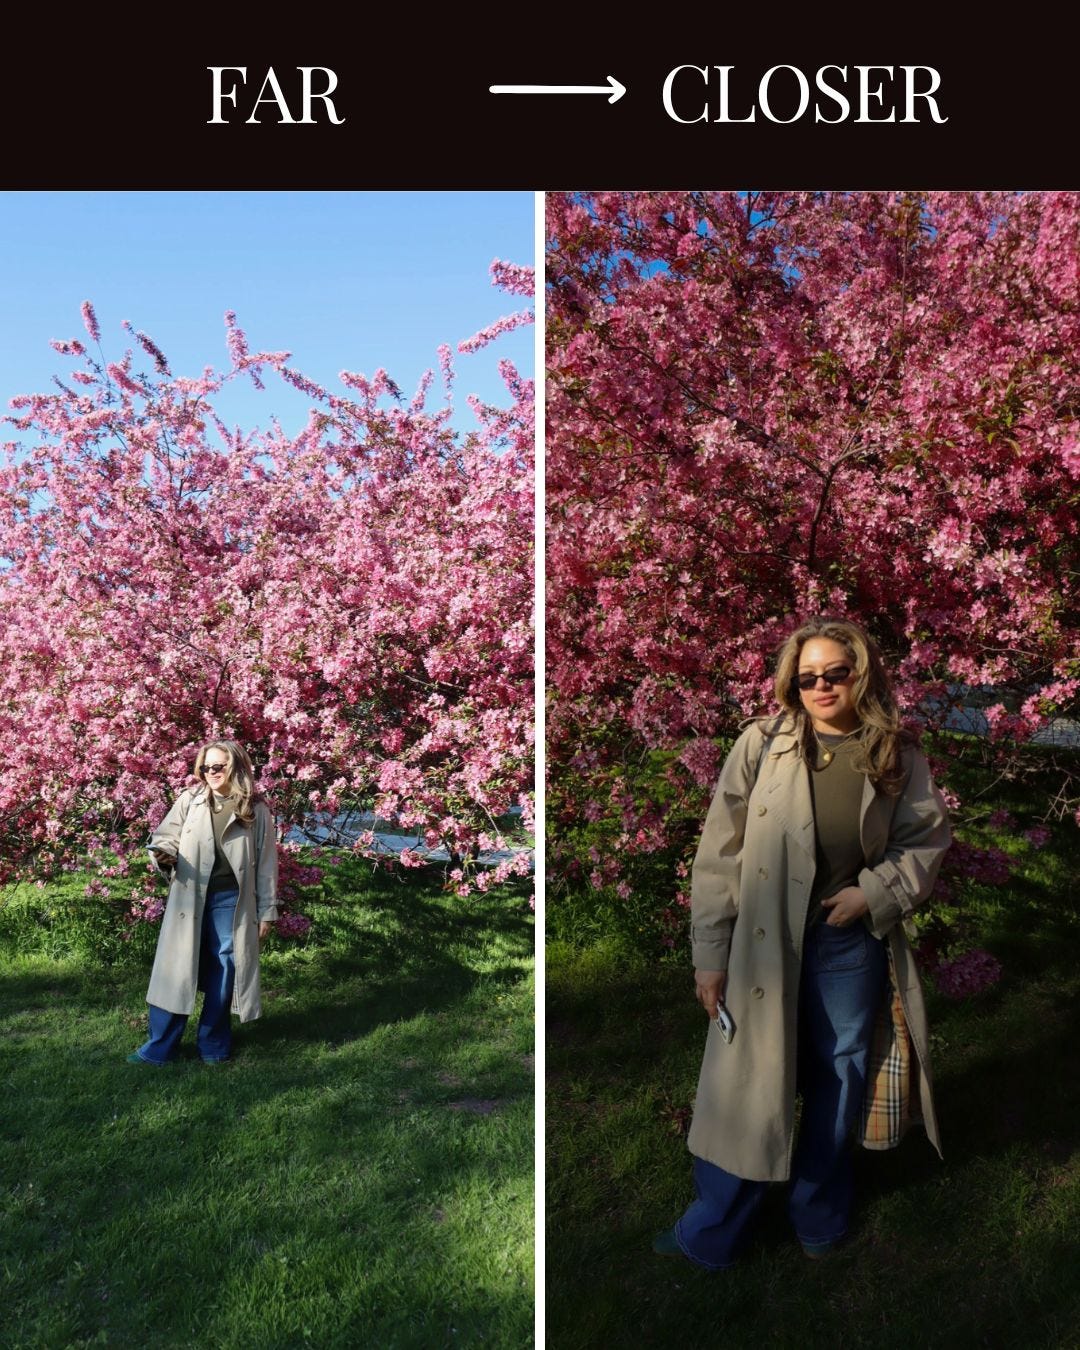
The tree with the pink flowers didn’t seem like much at first. It was easy to miss, especially with all the dramatic architecture and sculptures competing for attention in Millennium Park. But I’ve learned to keep my eyes open, always scanning for little pockets of beauty.
You don’t need a sweeping backdrop to take a good photo. In fact, sometimes the magic happens when you move in closer. Tight framing can turn something ordinary into something striking.
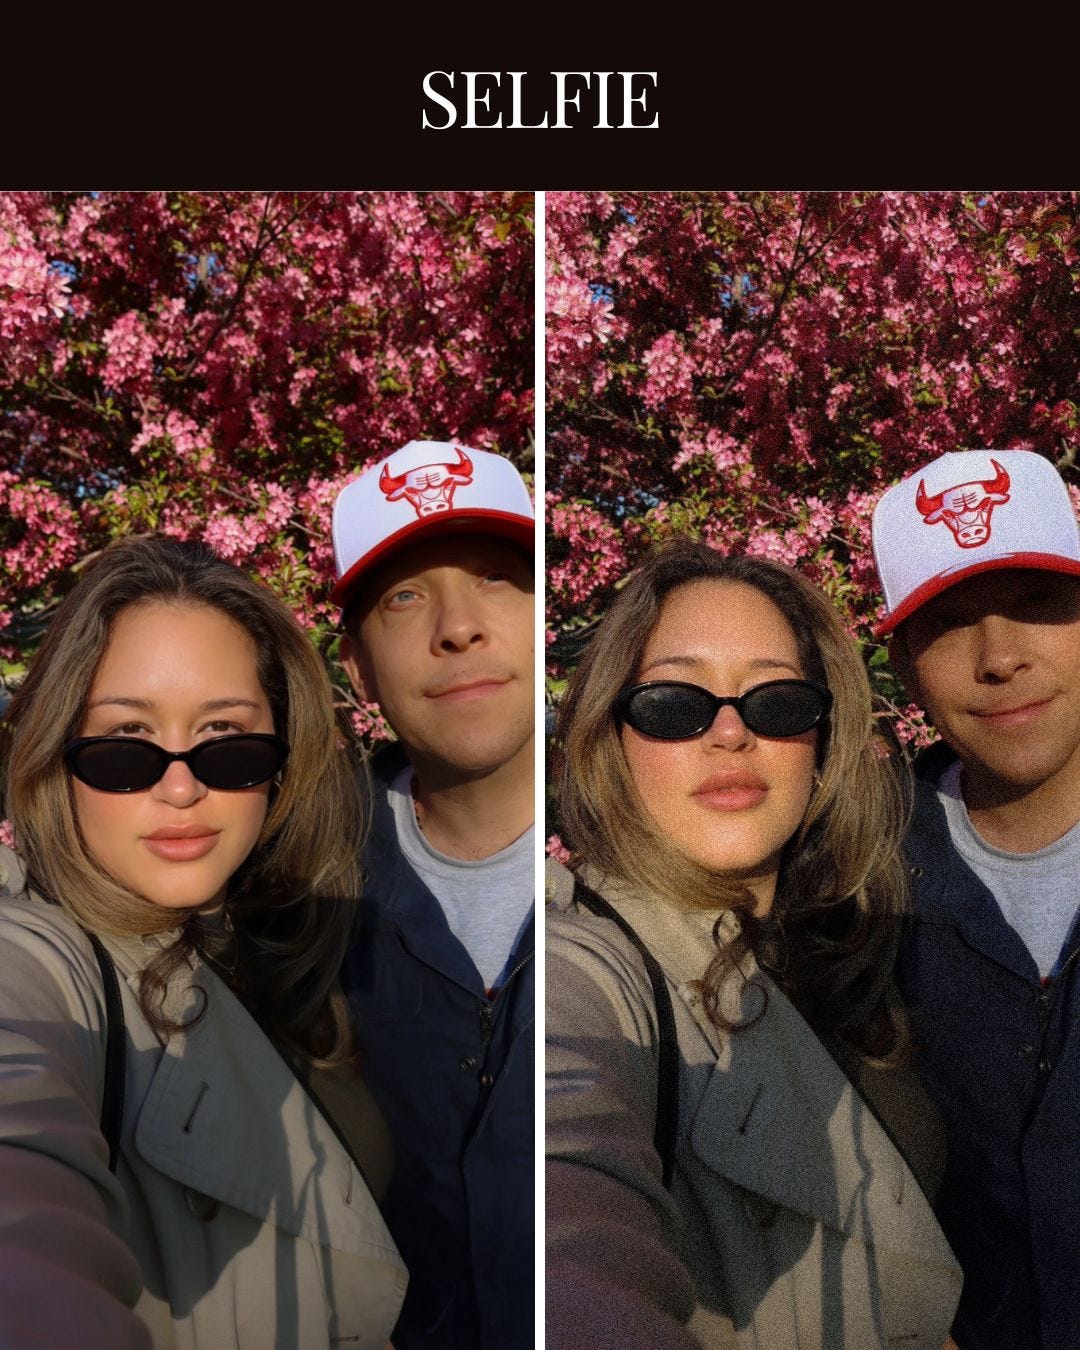
Here’s an example:
If you are enjoying this post, make sure to give it a like and share
How to Add Interest to Your Shot
I use framing all the time to make my photos more interesting, and by “I,” I mean giving very specific instructions to my husband while pretending I’m just casually vibing. (Special article on husband-handling here and here)
In this shot, I used the flowers in the foreground to frame the subject (hi, that’s me). Framing means using elements in your surroundings (like a doorway, flowers, tree branches, a window, or even your own hand) to create a “frame within the frame” that draws attention to the subject. It adds depth, focus, and a sense of intention, even if you’re just standing in a park trying not to get poked in the eye by a branch.
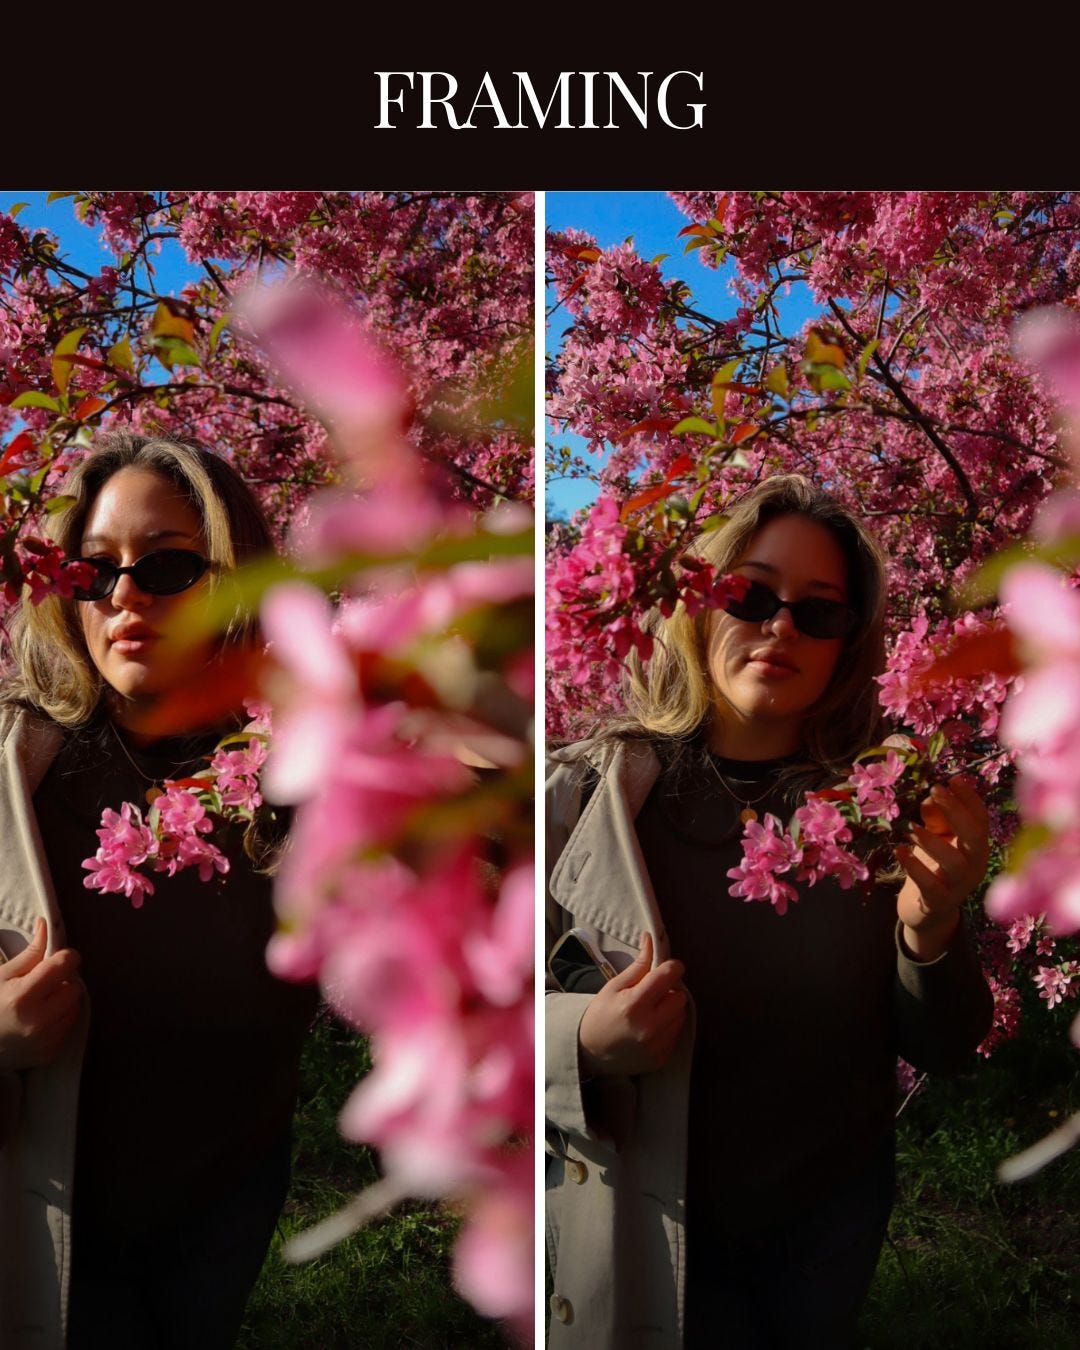
In this particular photo, I placed the flowers close to the lens to create the illusion that I’m being surrounded (or gently frame) by nature. In fashion photography, this technique is often done with doorways or arches, where the photographer uses architectural elements to create a picture-within-a-picture effect. Now that you know the trick, you’ll start seeing it everywhere.
Selfie Perfection
If there are two things that will save your makeup in a selfie, especially when you're outdoors or walking around, they're powder and a good setting spray.
I love a dewy look because it makes my skin look plump and fresh. But I also don’t want to look sweaty in a photo. So I tap a bit of this powder (note: underline text is clickable), under my eyes, very subtly. I used to bake, but unless I’m doing full glam, I skip it now. A light dusting in key spots is enough to keep things from creasing or slipping around.
As for setting spray: it’s the secret to long-lasting makeup. If the weather is hot or humid, I spray after foundation, again after contouring, and once more when everything is done. If the weather’s decent, one spray at the end will do the trick. I’ve tried a ton, but THIS ONE remains my favorite, not just because it works, but because the bottle feels nice, the mist is even, and it smells good.
Create a Story
On the way back home, we realized we had walked a little too far and decided to take the bus. Chicago transit is New York-y, in the best way: reliable and accessible.
The bus was empty, and it felt like the beginning of a rom-com. The kind of moment where you spot someone, turn around, accidentally fall in love, then turn back and never see the person again. So we took a picture. No posing.

When you create a story, you do not have to try so hard. The photo feels more natural. Poses are important to know so you can face the camera with confidence at first. But after the dust settles, if you have a story in mind, you end up flowing.
If you are curious about the filters I use to edit my photos.

I use the Lightroom preset from my Honey pack. You can find it HERE.
If you enjoyed this post…
Give it a like and share it with a friend, it really helps.
And if you haven’t subscribed yet, now’s a good time.
This one was all about a walk in the park, but is there another everyday situation you’d like me to cover? Let me know in the comments.
Coming Friday
I’ll be publishing Part 2 of the workshop on how to make your arms look more slender in photos. Part 1 is available HERE, where we covered poses that work. In Part 2, I’ll focus on the big mistakes that make arms appear bigger than the rest of your body.
You don’t want to miss it, so make sure you’re a paid subscriber.
With love,
Bonnie
