


She Thought Her Living Room Was Too Small for a Photoshoot. Then She Found This Genius Hack
Cheap too

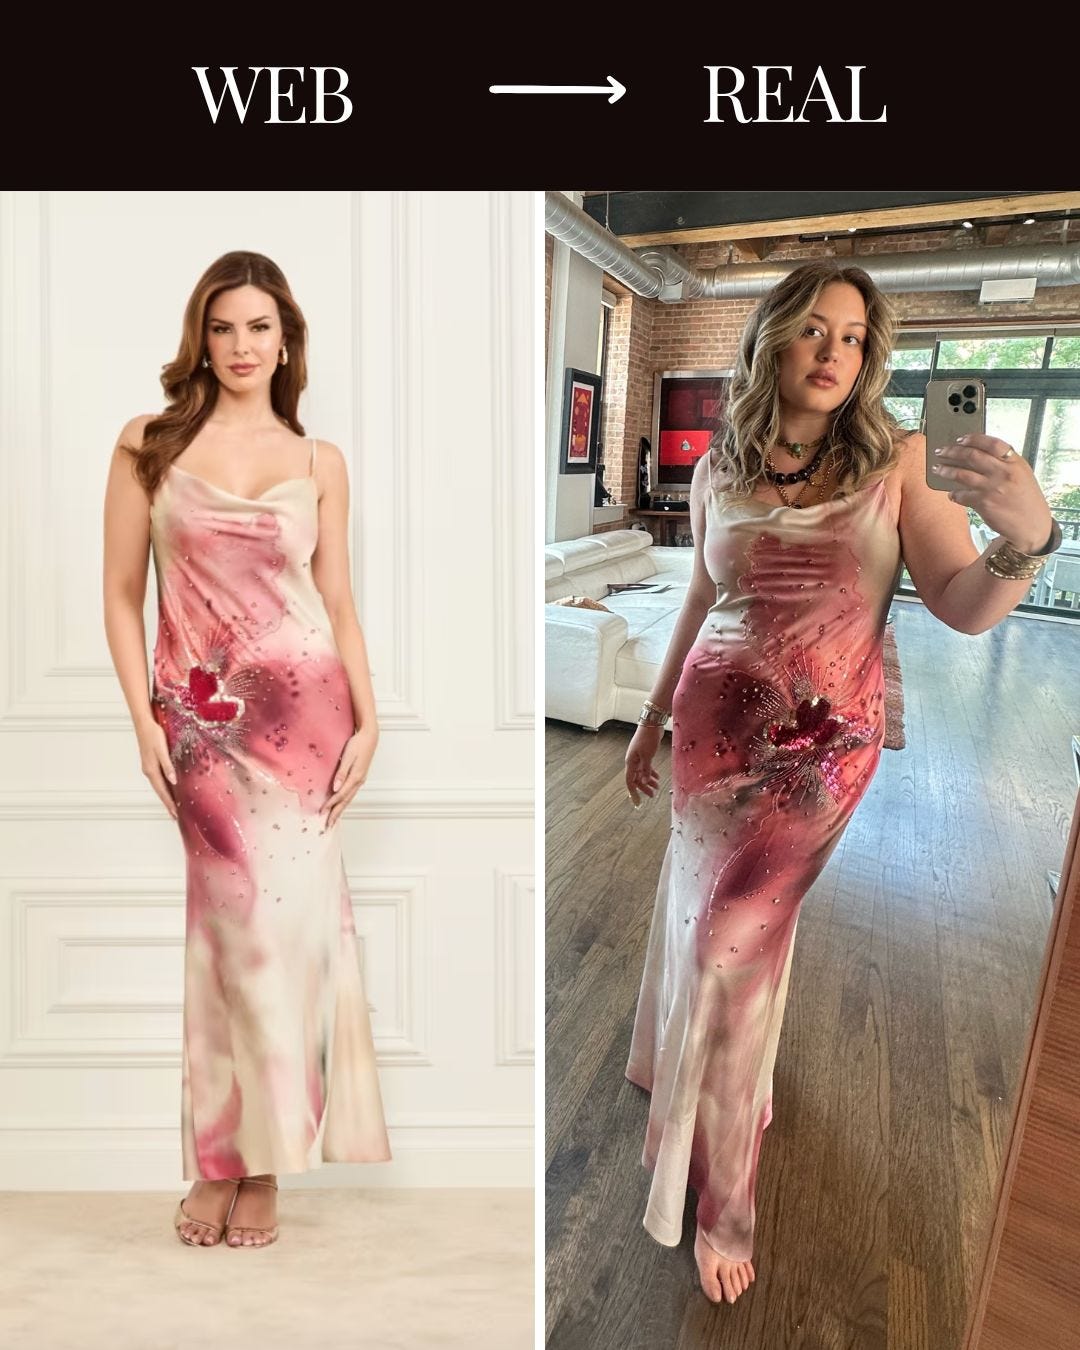
This newsletter is FREE to you thanks to today’s sponsor, GUESS.
Yeah, that GUESS. The one we grew up with. I remember going to their store with my mom when I was little and spending what felt like hours just wandering through racks of denim, rhinestones, and all the sparkly things my childhood dreams were made of.
To show you a little bit of their new collection, I’m wearing one of their fabulous dresses. Slip dresses are my favorite, not just because they’re comfortable, but because they’re elegant without trying too hard. And this one takes it to the next level with such a stunning design. Very photogenic-approved.
Of course, GUESS is always going to have their classics. When I think of the brand, I immediately think of jeans, and these are some of my current faves:
🤍 A crisp white pair for summer HERE.
💙 A timeless, sexy flared denim that never fails HERE.
👖 And if you dare… a Capri style. Yes, they’re making a comeback and I’m into it. HERE.
And of course, we can’t forget the iconic baby tee. Still cute. Still classic.
Big thank you to GUESS for sponsoring this newsletter and making us all just a little more photogenic.
Let’s get started ✨
DEAR BONNIE: I want to do a photoshoot in my living room, but the setup’s a little tricky. I’m thinking of using a blue, light brown, or grey background, planning to tape it to the ceiling and let it hang down. I’ve never done anything like this before, so it’s definitely going to be a creative adventure for someone who doesn’t really know what they’re doing with a camera, lol. Any tips? — Theresa
If you'd like to see your question featured, feel free to drop it in the comments!
DEAR THERESA: OK, I have a lot of thoughts about this, so I’m going to give you plenty of options and you can pick what feels best for you.
First of all, technically, you don’t NEED a backdrop, you can just use a plain wall at home. The downside is that you can’t change the color and you can’t control how close that wall is to a window, and the closer you are to the window, the better the light. So honestly, having a backdrop setup at home can be really useful.

There are different background options depending on what you're shooting. Is it food, nails, full body? For today, I’m going to focus on portraits for you.
Option 1
Is the one you mentioned: buying a fabric backdrop and taping it to the wall. This is super common for parties. For example, here’s a photo of a backdrop we did for a friend’s party.
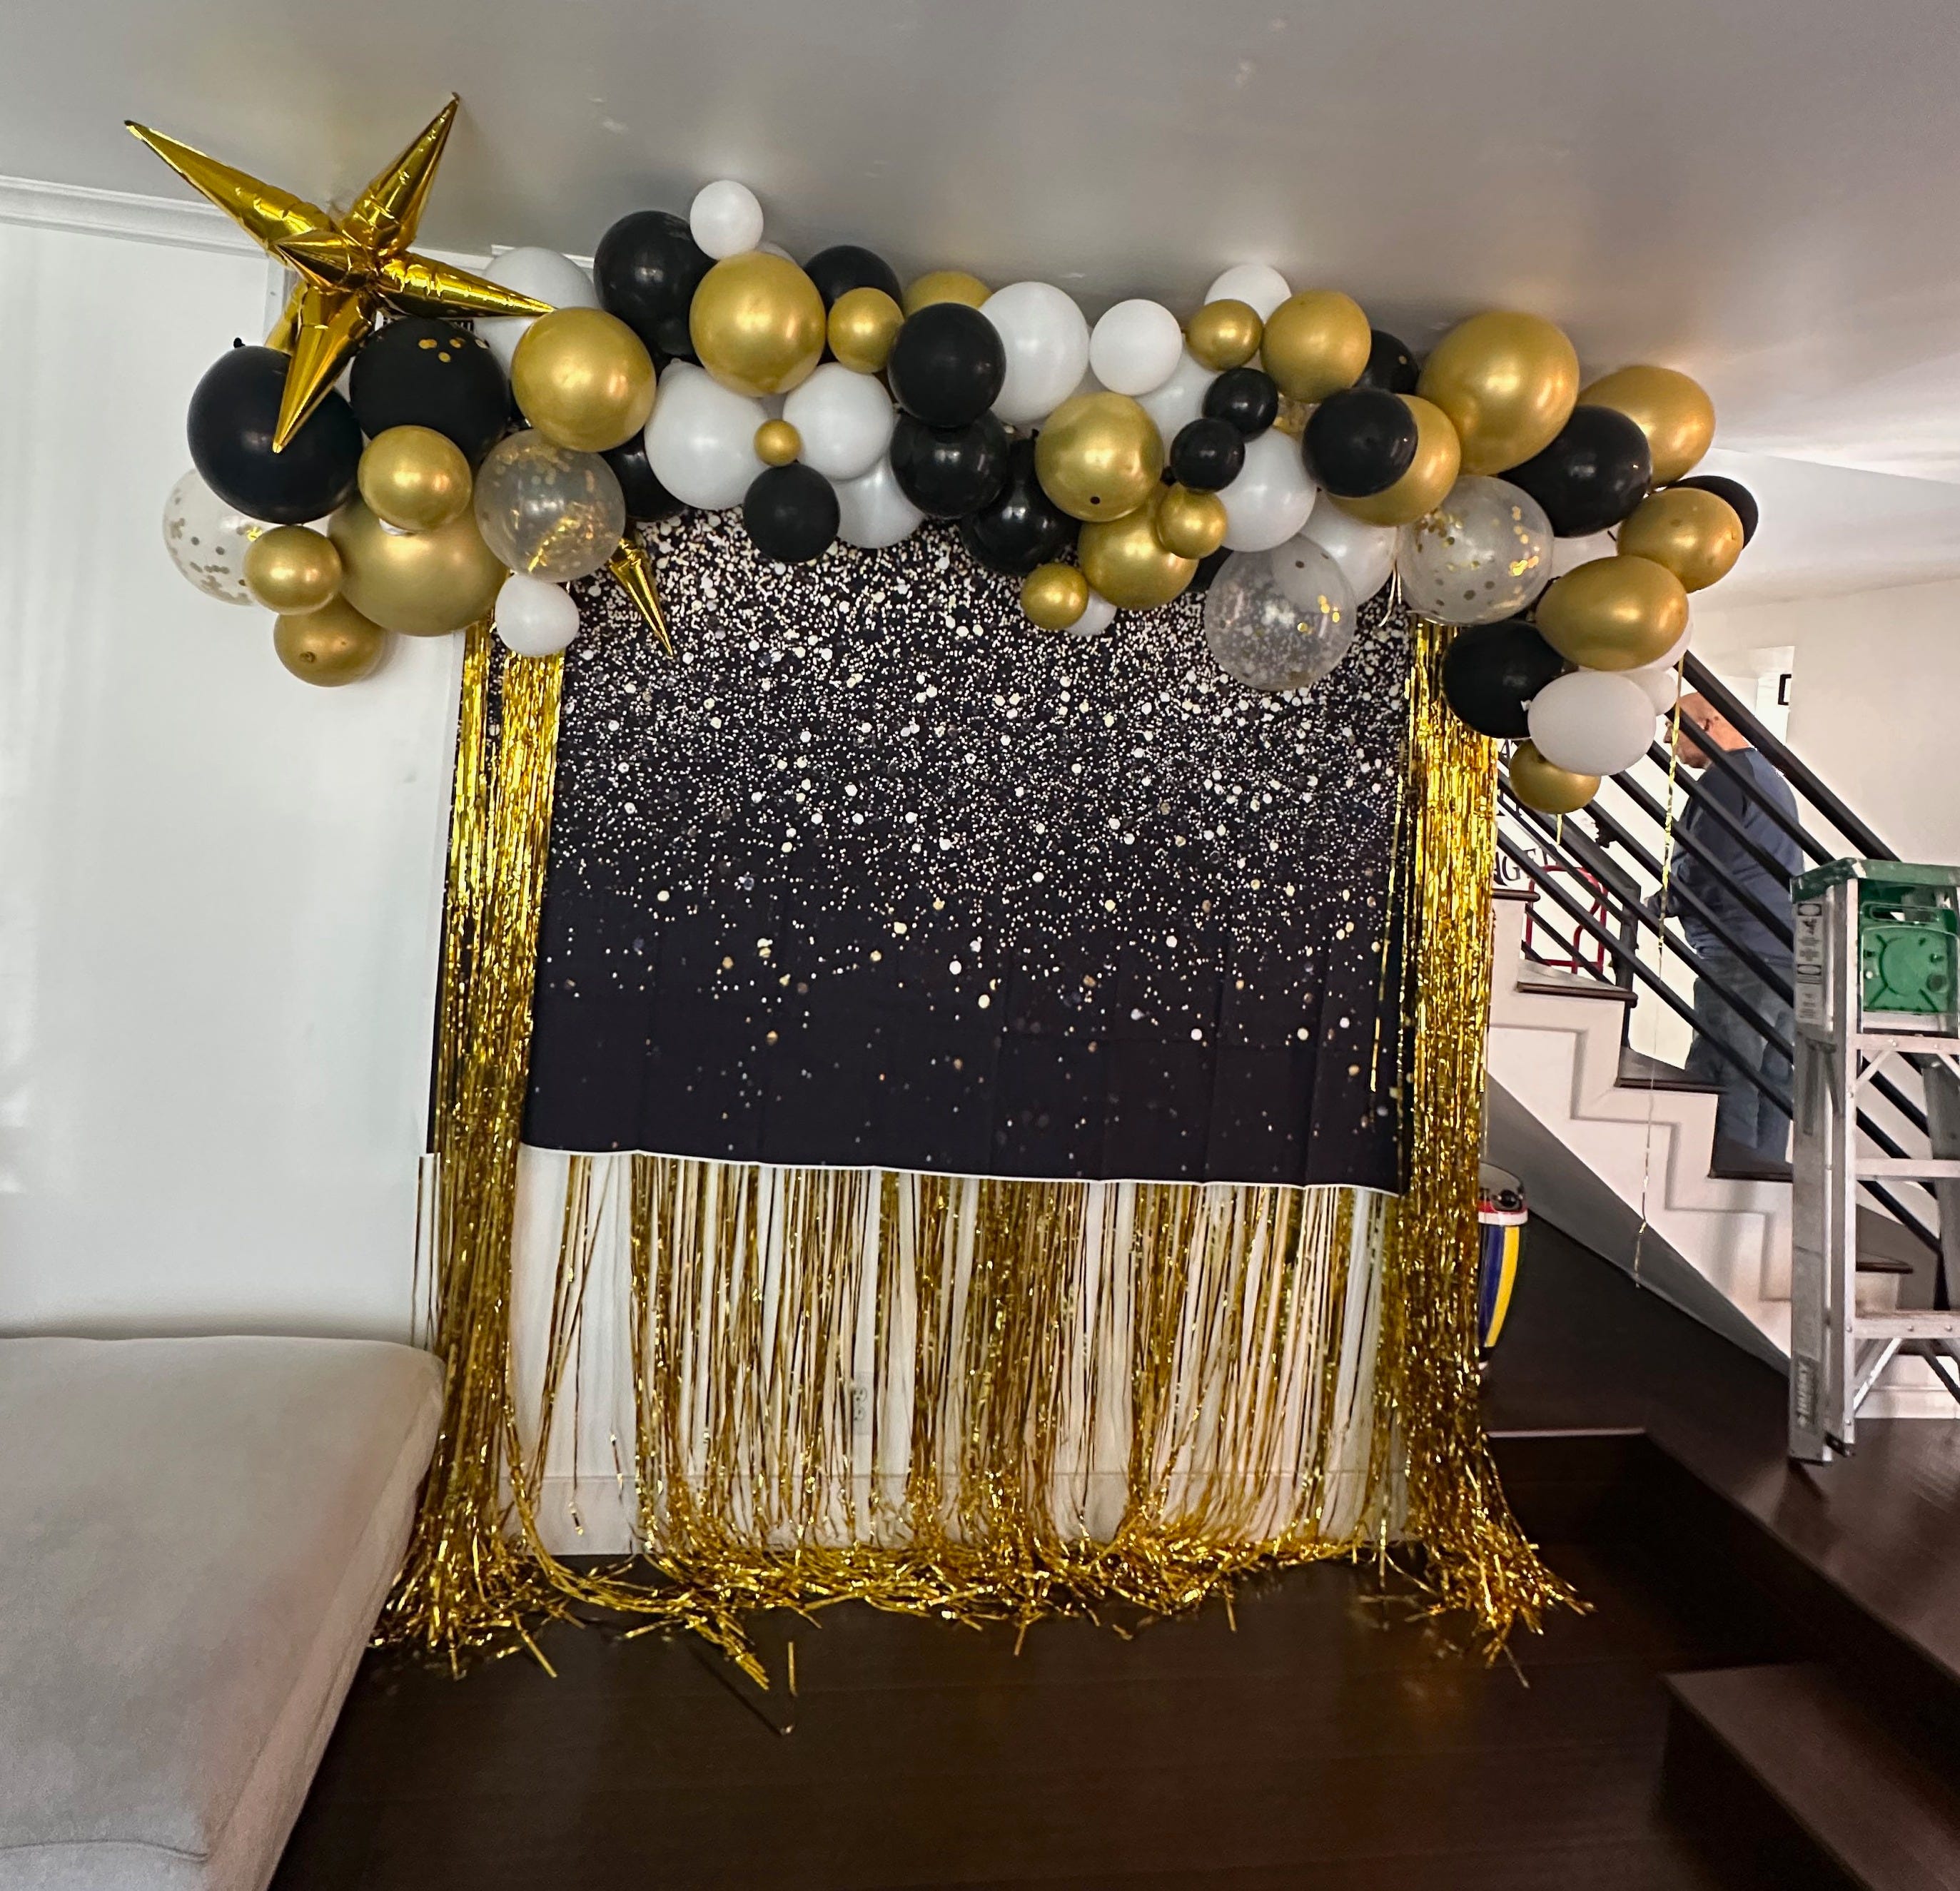
The good thing about this method is that it’s straightforward. You just tape up a piece of fabric and boom, instant backdrop. The downside (all the options have some) is that it can fall off easily if it’s not taped well or if the tape isn’t strong enough.
It can also damage the wall (not a huge deal if you’re chill like me, but I know some of you are not, so I have to mention it).
It solves the problem of color variety, which is great, you can get as many shades as you want. But you lose the convenience of moving it closer to a window. So if you’re not lucky with natural light, you’ll probably need extra equipment. And that… is a whole other newsletter.
So is it good? Yes. But it has some real limitations. I love it for parties and casual setups with a ring light. Not my favorite when I’m doing my actual work.
Enjoying this article?
Tap that heart and hit subscribe so you don’t miss the good stuff, real tips, real results, straight from someone who actually lives behind (and in front of) the camera.
Option 2
This one’s actually pretty solid, especially if you’re shooting at home in your living room. I’m talking about one of those affordable backdrop stands you can get on Amazon.

The good thing is they’re super easy to set up. They’re lightweight, they fold down small, and they’re easy to move around wherever the light is best. Just make sure to check the paper measurements before you buy.
Now, the downside: they can be flimsy. If you're working alone, it’s fine. But if you have someone helping you who’s not experienced, or you’re working with more than one person, it can become annoying. Someone steps on it or bumps into it, and the whole thing shakes. I’m telling you the truth no one else will.
That said, I still own this kind of setup and use it all the time when I’m shooting solo or friends and family (not clients). It really works for everything I mentioned above.

You’ll get the full stand setup: the bar in the middle is where you insert the backdrop, the clips help secure it in place, and the little bags are for weight (fill them with something heavy like sand or even a couple cans of soda). Place them between the stand legs to keep everything stable. And when you’re done, just pack it all into the storage bag it comes with. Super easy.
Let’s talk about backdrop fabric for a minute.
Yes, you can use fabric backdrops, but personally, I’m not a fan. They wrinkle easily, you have to wash them, and they’re annoying to Photoshop. I’ve done it. Not fun.
What I prefer is paper backdrops. They’re smooth, recyclable, and super easy to shoot. If you’re doing full-body photos and step on it, no stress. Just cut that part off, recycle it, and move on. Most rolls are around $30 and come in tons of colors. And if you’re not shooting full body? Don’t even roll it to the floor and it’ll last way longer.
I live in a loft, so I’ve got the ceiling height to store them. But heads-up: paper rolls are bulkier than fabric and not ideal if you’re tight on vertical space. Still, for actual shooting? Way more convenient.
The size i use: 53"x16'
Oh—and the tape!
Get a strong one to tape the paper to the floor so it doesn’t curl up or trip you mid-pose. We’re here to take photos, not break our beautiful smiles. I use one like this.
Option 3
For anyone who wants to take it to the next level, I recommend the setup I used to have in my studio. This one is wall-mounted, and it’s what pros use. You can load up to three paper backdrops at once and switch between colors easily.
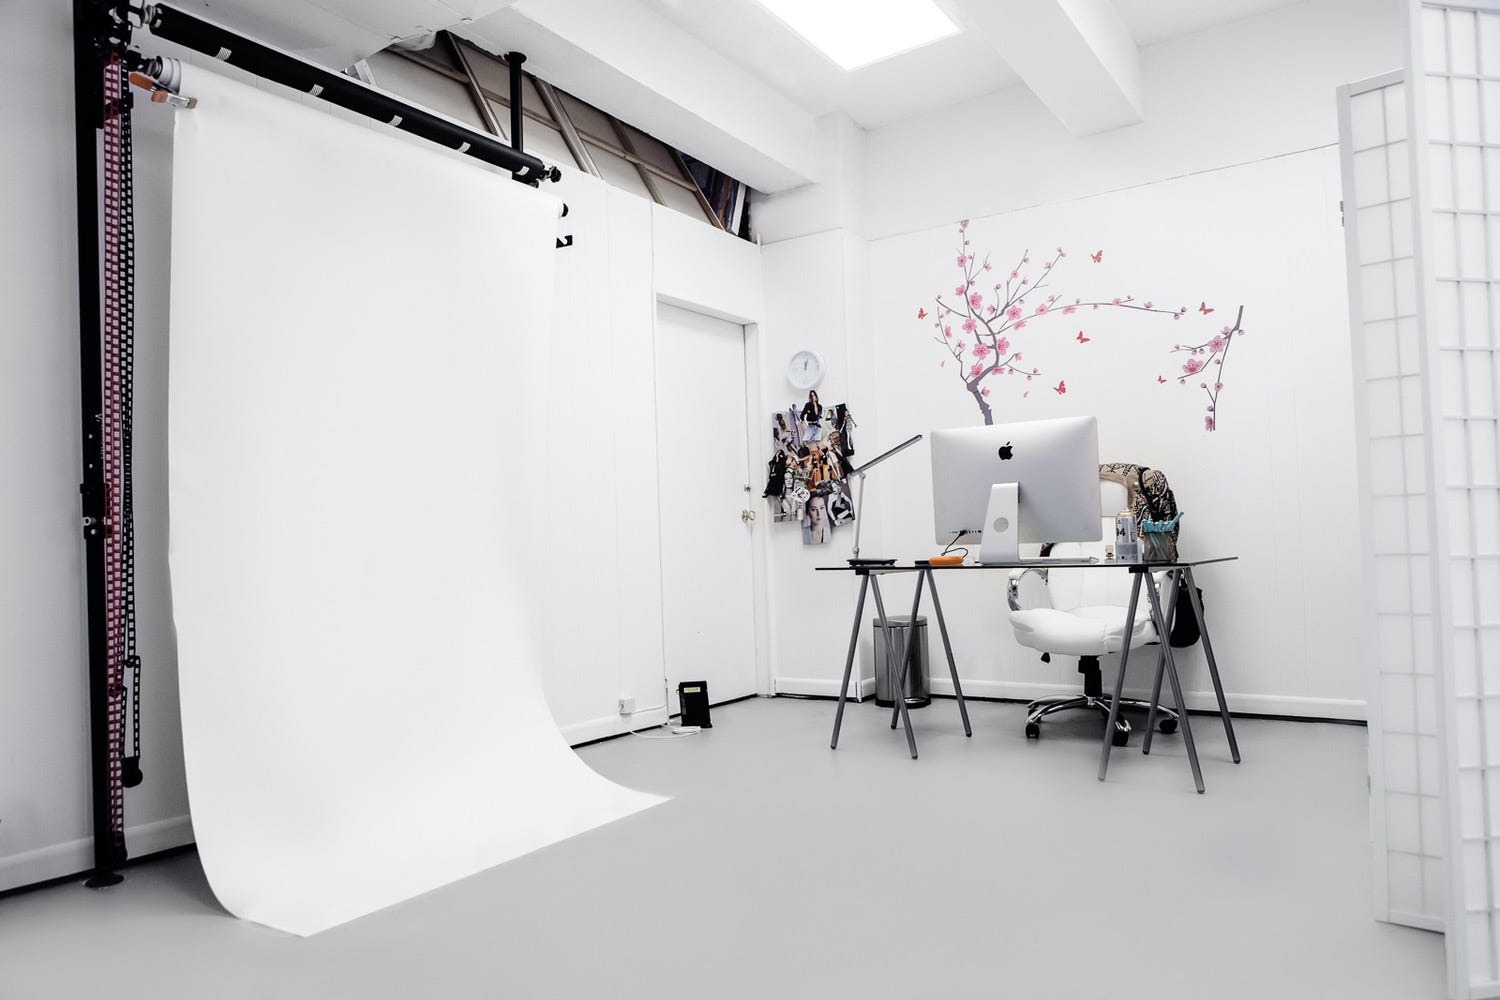
Obviously, it’s a little more expensive, and probably not something you’d want in a regular living room, but if you have a dedicated studio space, it’s amazing. Or honestly… it depends on your lifestyle. I used to have single friends who just had it mounted in the middle of their living rooms and didn’t care, because all we did was take photos. Priorities.
The classic one HERE
A fancy one HERE
One with a remote control HERE
For your needs, I’d probably stick with Option 2 (the backdrop stand), but I wanted to give you the full picture (the pros and cons) so you can choose what really works for you.
There are also other tools out there depending on what you shoot. If you’re into food photography, there are smaller cardboard backdrops. There are foldable ones, textured ones, a whole world of options. But that’s another newsletter.
If you ever have questions about different kinds of photography, or want help picking the right backdrop for your specific setup, drop them in the comments.
Or leave me a note in the chat.
And if you enjoyed this newsletter, consider becoming a paid subscriber to Photogenic. We’re starting a new photo challenge this Friday to glow up your summer photos. Paid members get exclusive workshops/challenges every Friday, straight from me. Plus weekly tips on fashion, makeup, and body language to help you become your most photogenic self.
With much love,
Bonita


I was hoping to send a few photos to troubleshoot but there is no option to post pics.
Great article and super tips on taking your own photos from home. My problem is that I don't have a wall to work with but have big windows in living room.